Cheap YouTube Equipment: The $100 Setup You Need to Start Today
If you’ve been putting off YouTube because you think you need a studio, a fancy camera, and a pile of tools, you’ve been sold the wrong story. You can start a YouTube channel for your business with cheap YouTube equipment and get a clean, professional look without spending thousands.
The truth is simple: you can start your YouTube channel today with just $100 (and you may spend even less if you already own a few basics).
The faster you start, the faster you can turn videos into leads, sales, and clients, because your channel can begin working for you as soon as you publish.
Why fancy gear isn’t needed to start YouTube for your business
It’s easy to assume “high-quality video” means “high-priced equipment.” But YouTube viewers don’t subscribe because your camera costs a lot. They stick around because you help them solve a problem, answer a question, or make a decision faster.
A simple setup also removes friction. When you’re not waiting to buy gear, you can focus on recording consistently, improving with each upload, and letting your videos build trust over time.
If your goal is business growth, speed matters. Getting started now beats having the perfect setup later.
Here’s what your starter setup really comes down to:
Camera (your phone)
Tripod (to keep your shot steady)
Microphone (built-in or a low-cost add-on)
Lighting (window light or an inexpensive light)
Background (what you already have)
Editing and design tools (free or low-cost)
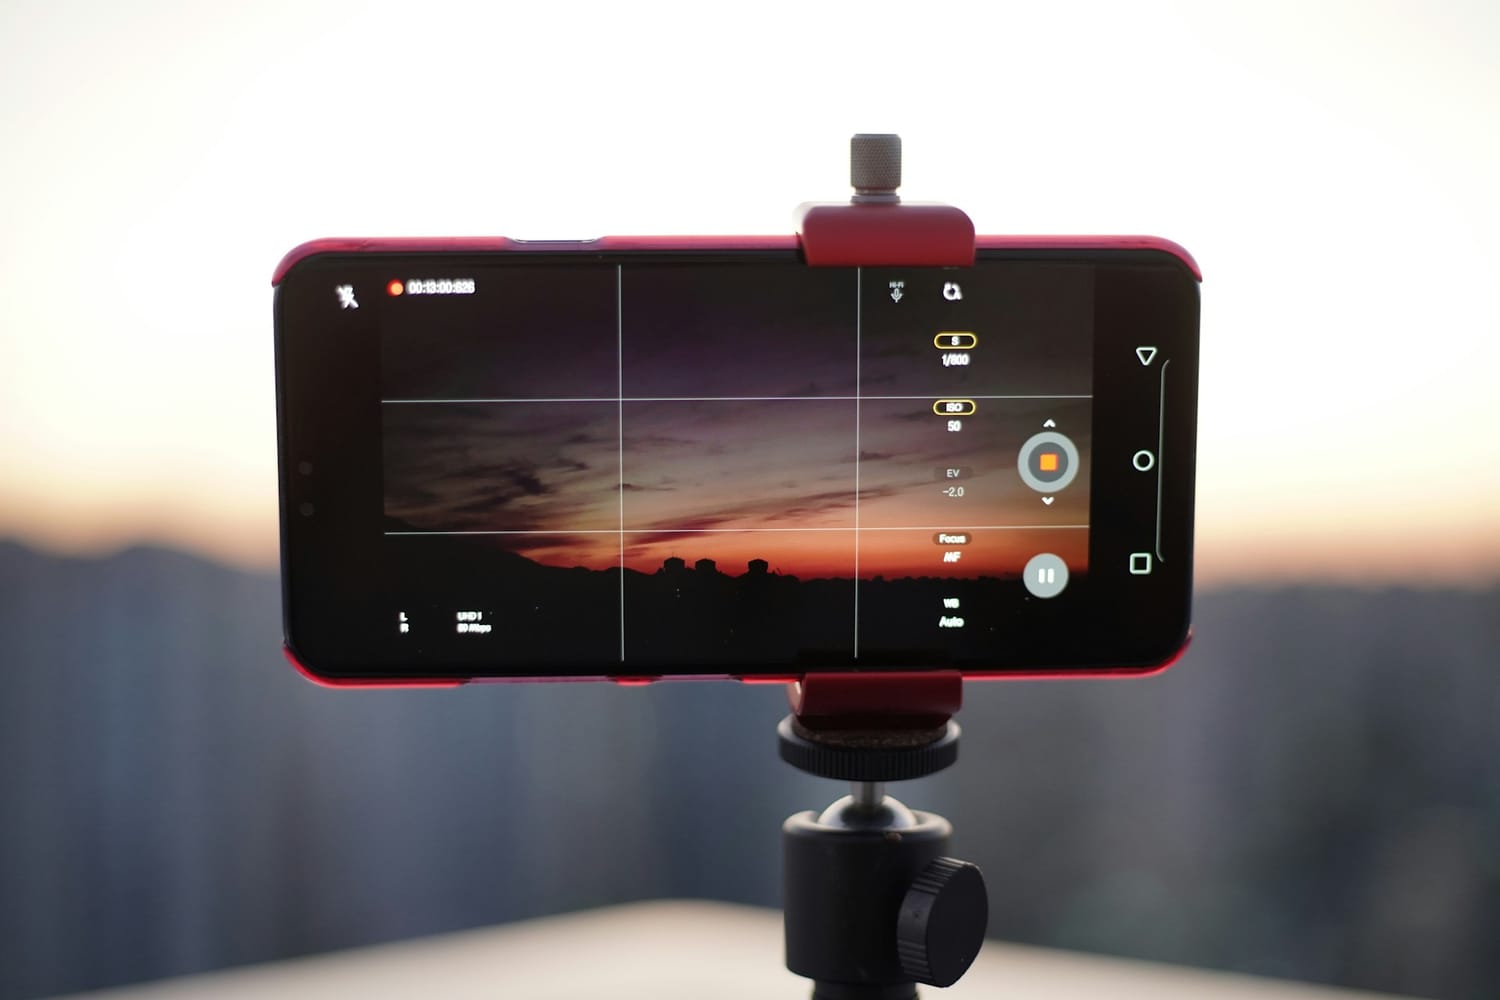
Camera: use your smartphone (and keep it simple)
Your phone is the easiest “camera” you’ll ever use because you already know how it works. Most smartphones can record in 1080p or 4K, which is more than enough for YouTube when you’re starting out.
If you’ve been recording Reels, Facebook videos, or any quick marketing clips, you can use the same approach for YouTube.
The biggest win here is consistency. When your camera is always in your pocket, recording becomes a habit, not a project. You can film a talking-head video, a tutorial, or a short training with almost no setup time.
Smartphone video quality basics
Aim for a clear image and a steady shot. Recording in 1080p or 4K gives you a crisp picture, but the viewer experience still depends on lighting and stability. In the beginning, you don’t need more than that.
Solving storage issues
If storage is your only real barrier, you have a couple of practical options:
Add extra storage (like a memory card or other storage expansion that works with your phone).
Keep longer recordings from piling up on your device by moving files off your phone quickly.
Pro tip: record to your computer with OBS Studio
If you want to avoid recording directly onto your phone, you can plug your phone into a desktop or laptop and record through an app. That way, your phone captures the video, but the file saves onto your computer.
OBS Studio is a free tool that can record high-quality video, and it can work on Windows and Mac. Your phone becomes the camera you look at, while your computer becomes the storage and recording hub.
It’s a great solution when you’re filming longer videos and don’t want to deal with a full phone mid-recording.
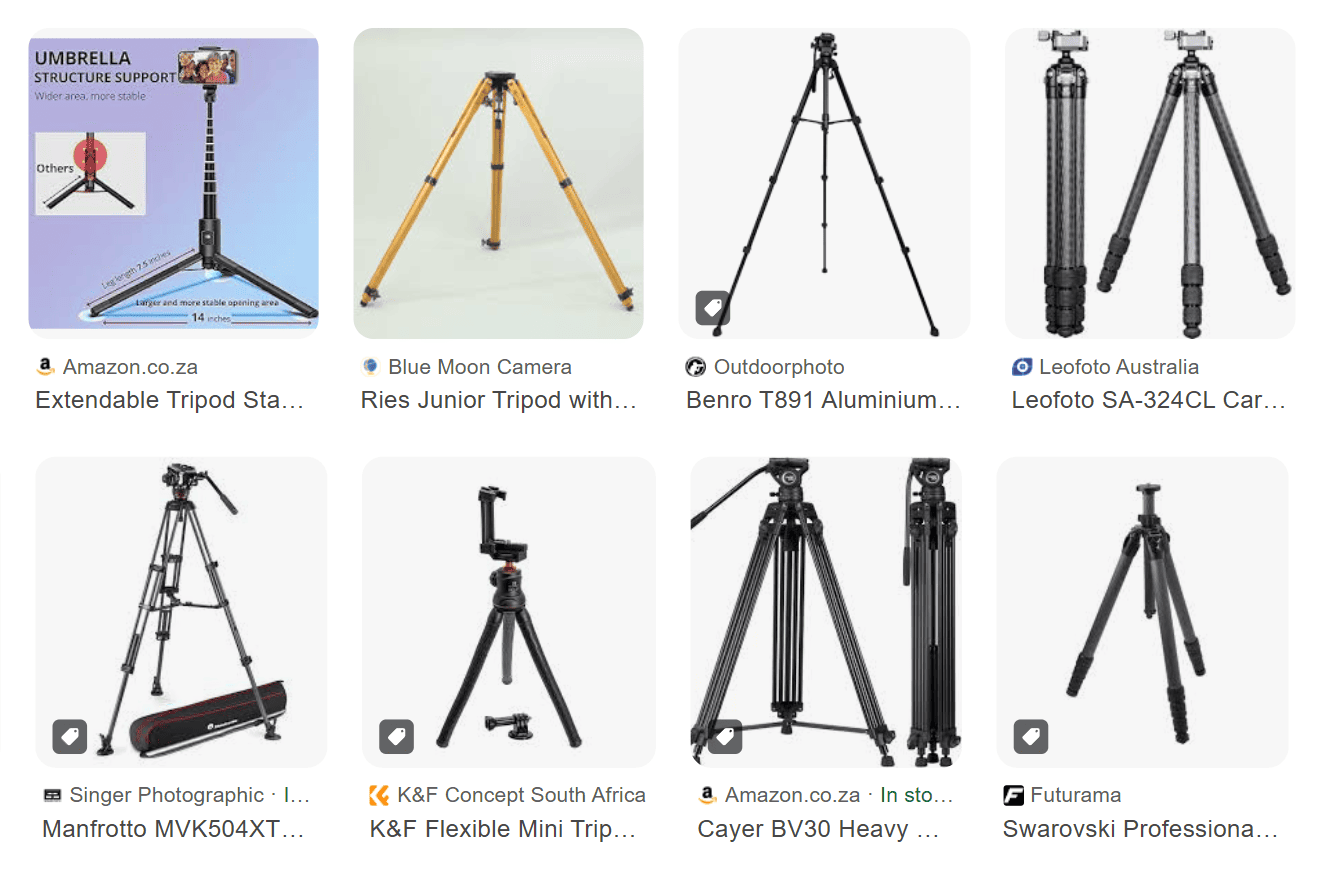
Tripod: steady video makes you look more professional instantly
A tripod is one of those small purchases that pays off right away. Shaky footage is distracting, and trying to balance your phone on a table, books, or random objects can be really annoying. It also wastes time, and time is usually the real cost when you’re building a business.
A basic tripod keeps your framing consistent, makes it easier to batch-record videos, and helps you show up on camera with less stress. You can find options around $20, and you don’t need anything complicated to start.
Why tripods beat DIY setups
A tripod gives you stability without the struggle. No more struggling to balance your phone, nudging it, watching it fall, and starting over.
Ideal tripod features to look for
When you’re choosing cheap YouTube equipment (that still produces good videos), flexibility matters more than fancy design. Look for a tripod that:
Has long legs, so you’re not limited to tabletop height
Holds a phone now, and can also mount a camera later if you upgrade
Lets you record in different rooms, because you can set it anywhere
Microphone and lighting: make it easy to hear you and see you
People will forgive a video that isn’t perfect. They won’t sit through audio they can’t understand. Clear sound is one of the quickest ways to raise the quality of your videos without raising your costs.
Lighting matters too, but it doesn’t have to be complicated. Your goal is simple: make sure viewers can see your face clearly and hear your voice without strain.
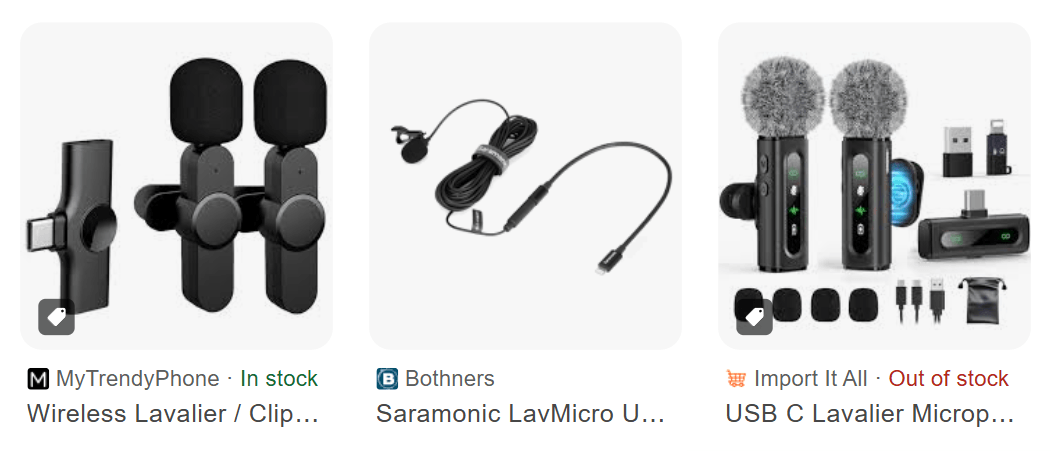
Microphone: clear audio on a budget
If you already use a mic for Reels or other short videos, use that same mic for YouTube. If you don’t have one, you can start with a clip-on mic. There are plenty of affordable options that still sound good, often in the $15 to $50 range depending on the brand.
You’ll see a few common styles:
A mic you clip onto your shirt.
A small microphone you hold or place close to your mouth.
Start simple, then upgrade later when you feel limited by your current setup, not when you feel pressured to buy gear.
Lighting: use a window first, then add a low-cost light if needed
Your best “starter light” is often free. If you have decent natural light, face a window and put your camera in front of you. That puts the light onto your face instead of behind you. Natural light looks more natural, and for many videos it looks better than cheap indoor bulbs.
If you don’t have good natural light, or you want to record at night, add an inexpensive light:
A ring light can work great when you’re starting, and it can be very affordable (around $15 in this example).
A box light is another budget-friendly option, and it can light your face and upper body evenly.
Your benchmark is simple: if viewers can see you clearly, you’re good.
Background: keep it clean, then build from there
A “professional background” isn’t a requirement. What matters is that your background doesn’t distract from your message. When people worry too much about their setup, they often don’t post at all, and that’s the only real mistake.
Use what you already have. A bookshelf, a fireplace, or a simple wall with framed photos can look great on camera. You can also match your background to your niche so it quietly supports what you teach.
For example, if you’re a parenting coach, neatly stacked toys in the background can signal your topic without you saying a word. Cater your background to suit you, not to impress strangers.
Editing & design: use simple tools
Editing & design tends to scare people even more than being on camera, but you have solid options that don’t cost much.
Editing: free and affordable tools
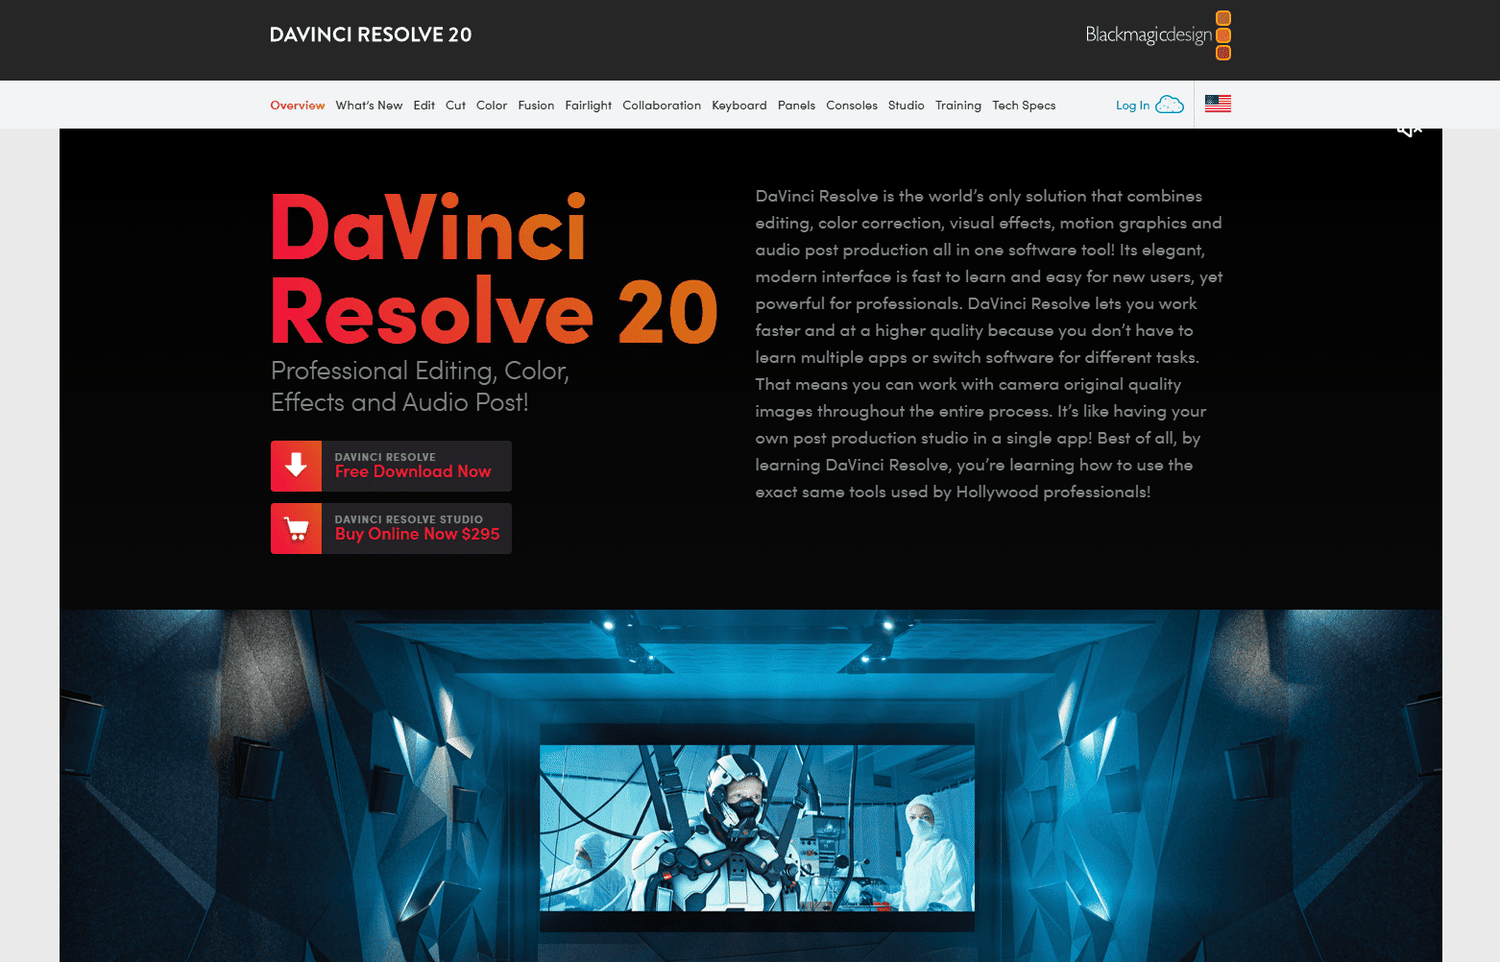
DaVinci Resolve is a free editor that can handle both basic and more advanced edits. You can trim clips, cut out pauses, add text, and add images, which covers what most business videos need. It does have a learning curve, but once you learn the basics, it’s a strong long-term tool.
If you’re on a Mac, iMovie is also a great free option for simple edits. If you prefer editing on your phone, CapCut can work well too, especially when you want to move fast.
If you want an editor that saves serious time, Descript is worth looking at because it’s text-based. You upload your video, then you edit the transcript, and the video updates with it. You can also highlight text to add images or B-roll. The plan mentioned here is about $24 per month (the Hobbyist plan) and includes about 10 hours of editing.
If you want to test it, use Descript for text-based video editing, and if you want extra help, watch this Descript editing tutorial.
Design: Canva is all you need
For design, Canva is the obvious choice because you can create your YouTube banner and thumbnails in one place.
If you already use Canva for covers, logos, or brand graphics, keep using it. The free version works, and Canva Pro adds features like background removal, which can help you make cleaner thumbnails.
Cost breakdown: a realistic $100 starter setup
You don’t need to buy everything at once. If you already have a phone and decent natural light, you might only need one or two items to get rolling. Here’s a simple way to think about the numbers:
Smartphone camera: $0 (if you already have one)
Tripod: $20
Clip-on microphone: $15 to $50
Ring light/box light: $15
Editing tool (DaVinci Resolve, iMovie, CapCut): $0
Editing tool (Descript): $24/month
Design tool (Canva Free or Pro): $0-$7/month
This is why “cheap YouTube equipment” works so well for business owners. You’re not trying to build a film studio. You’re building a marketing asset that can bring clients to you month after month.
Next steps: start your channel the right way, then grow it with a system
Once your setup is handled, the bigger question becomes: what do you post, and how do you turn videos into real business results?
If you want help building a channel that supports your business (not just views), you can join the Smart Content Club waitlist for YouTube-driven content. Inside the membership, you learn the practical parts like titles, thumbnails, and video quality, plus the strategy that matters most: choosing intentional video ideas that move people through the buyer journey.
If time is your worry, you can also follow a simple plan to get started without overthinking it. This 90-day YouTube strategy video lays out a clear month-by-month approach so you can stop guessing and start posting.
© 2026 Chante Walt Pty